How to Create a DAO
Learn how to build your own DAO#
Nouns DAO launched in late 2021 and created a novel way of distributing governance by minting 1 NFT a day forever. These NFTs are perpetually auctioned off to the public and give voting rights in the future of the DAO.
Nouns Builder allows anyone to build their own Noun-styled DAO in minutes. This guide will walk you through how to use the Nouns Builder interface to create your own DAO.
note
We highly recommend first creating a test DAO on the Goerli Testnet before creating one on Mainnet.
We also recommend using a personal wallet to create your DAO. If you plan to use a Safe multisig to create a DAO, please reach out to us on Twitter for support.
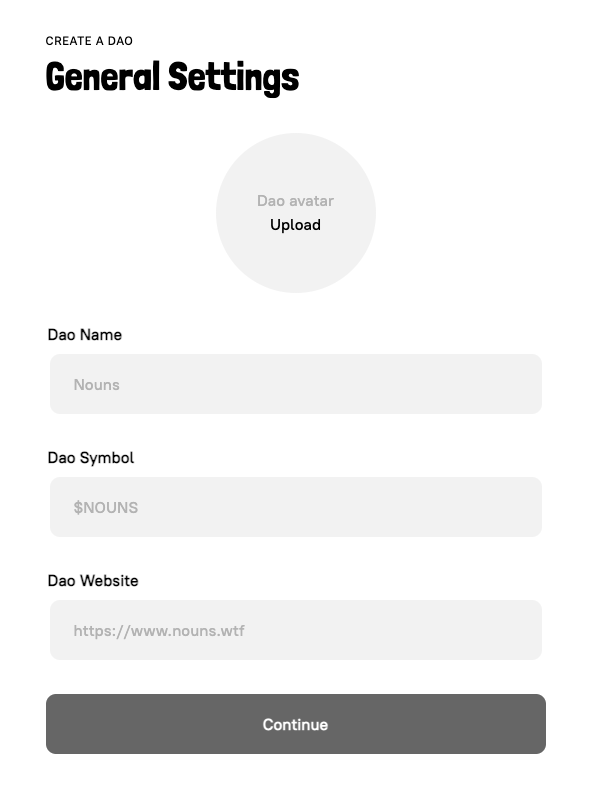
General Settings#
First, you will need to provide the name, symbol, image for your DAO, and optionally a website.
Note, the symbol is used as the name in the DAO NFT metadata.
For example, a DAO with a symbol of NOUN would have NFTs named NOUN #1, NOUN #2, etc.
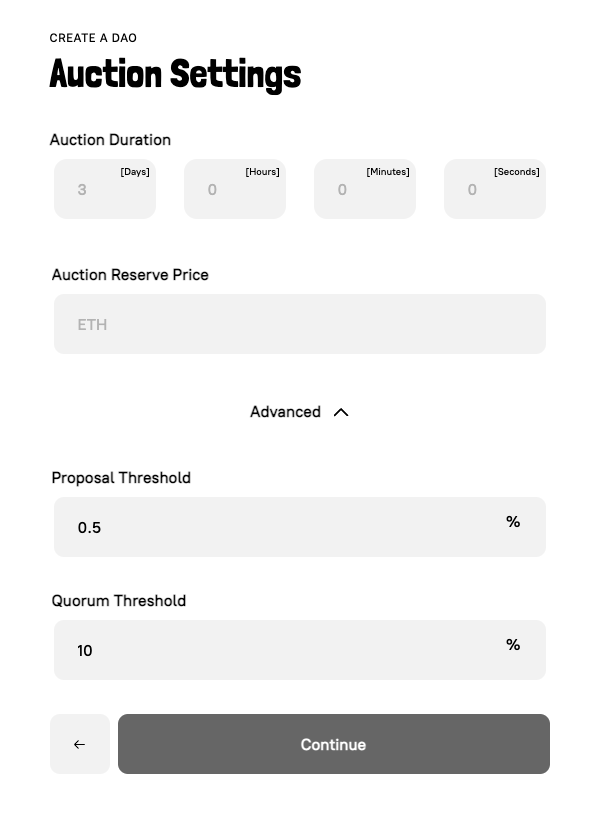
Auction Settings#
Next, you will need to configure your auction settings. Keep in mind, a new DAO NFT is minted every time an auction is started.
Duration:How long an auction runs forReserve Price:Minimum bid amount required to start an auction
Advanced#
We have chosen safe default values so don't feel pressured to change these unless you feel like a different setting is truly preferential.
Proposal Threshold:Min percent of total votes (NFTs) balance needed to put a proposal to a vote. For example, if the Proposal Threshold is set to 0.5% and there are 1000 total NFTs minted then 5 NFTs need to approve the proposal for it to be put to a vote.Quorum Threshold:Min percent of total For votes (NFTs) required for a proposal to pass
Veto Power#
After that, you can choose if you would like to have the power to veto proposals. Veto power is encouraged due to the small number of votes (NFTs) at the beginning of a DAO. The veto can later be removed once the NFTs have become sufficiently decentralized.

Allocations#
Founder Allocation#
As a founder, you can set an allocation to yourself. The contract will automatically send the NFTs to your address upon mint. Note, these founder NFTs do not impact the auction cadence.
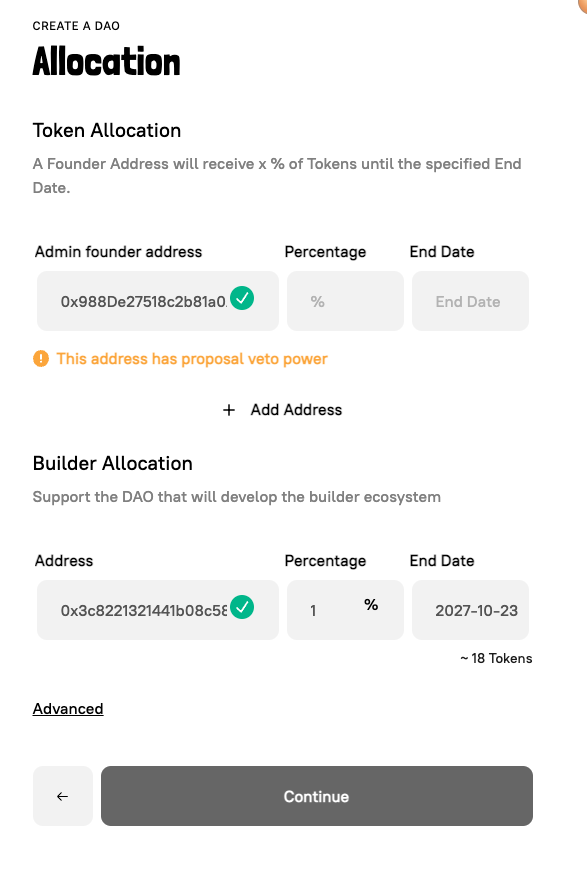
BuilderDAO Allocation#
In addition, there is an optional allocation to BuilderDAO for providing the software to build your DAO. You can opt out of this allocation in the advanced settings on the page if you so choose.
Artwork Setup#
Next, you will need to upload your artwork to Builder. The image files will be stored on IPFS, but the random combination of traits for an NFT is calculated on-chain at the time of mint.
Check out the Example Artwork Toolkit to learn more about formatting the art for the DAO NFTs.
Image Requirements#
- PNG and SVG are the only supported file types
- 600px x 600px minimum for PNGs and 32px minimum for SVGs
- Images must be square
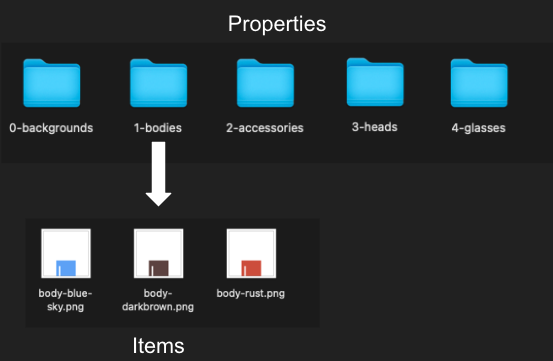
Properties vs Items#
Properties:Categories of different traits for the DAO NFTsItems:Distinct image options that make up a property
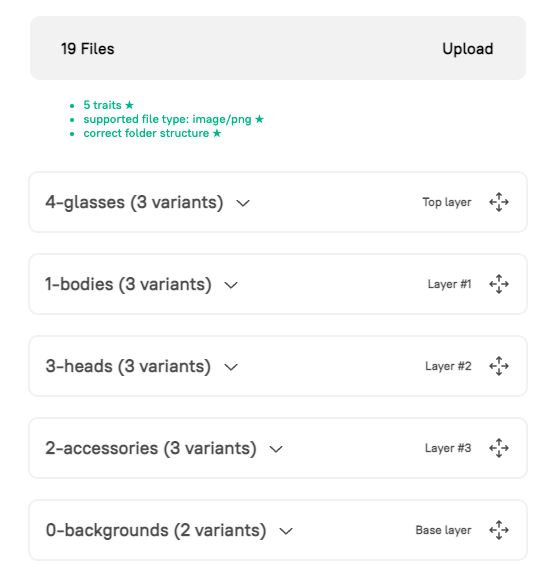
Folder Structure#
Please format your art folder like the example below. Make sure that each property has a separate folder holding the items for each property.
Layering#
Each property should be a different layer in the NFT. This means the order of the layers matters. You can use the interface to reorder the properties to make sure that they are in the correct order.
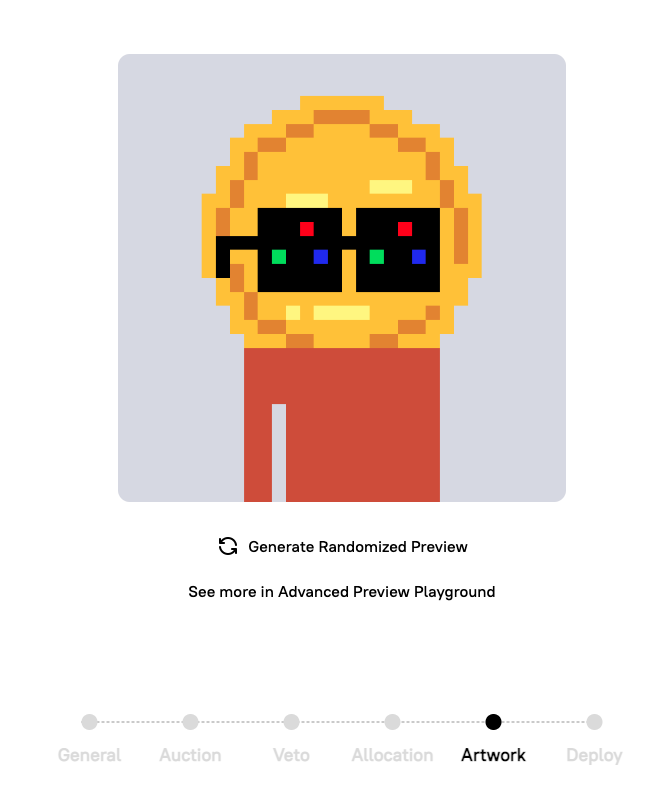
Preview#
Lastly, you can use the preview on the left to view random combinations of the art layers to confirm everything is correct. There is also a playground feature that allows you to get more granular with the previewing.
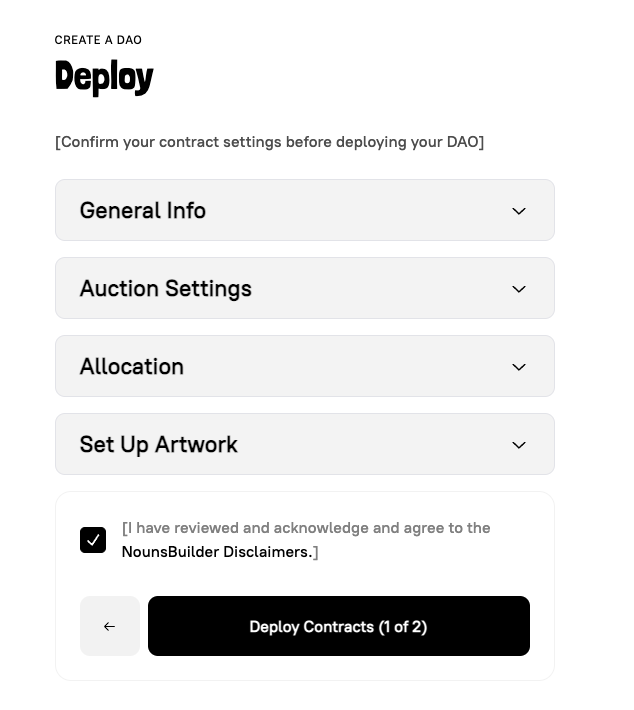
Deploying the DAO Contracts#
Now that you have chosen all the settings for your DAO, we are ready to deploy all the contracts. This step will prompt a transaction in your wallet.
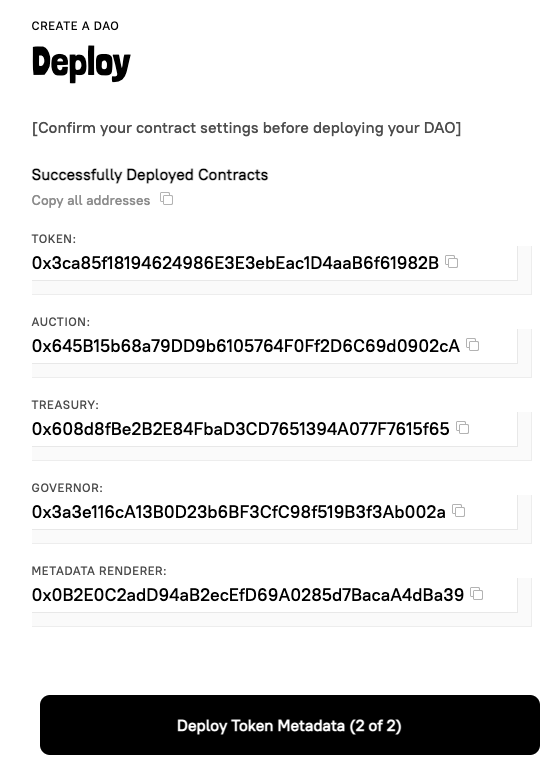
Setting Token Metadata#
Since we have deployed all of our DAO contracts we can see their addresses on this page. Make sure to record these so that you have them stored somewhere for future reference.
Next, we are ready to update the metadata on-chain. Even though the images are stored on IPFS, we need to update the Metadata Render to be aware of our different properties and items. That way it can generate random combinations when minting NFTs. This step will also prompt a transaction in your wallet.
Once the transaction confirms you will be redirected to your DAO's dashboard.
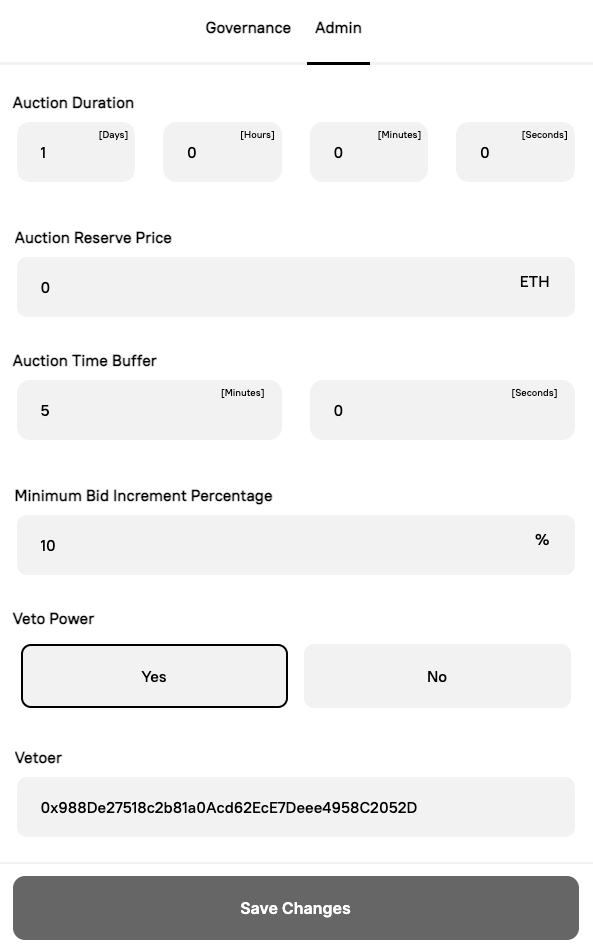
Editing the DAO Settings#
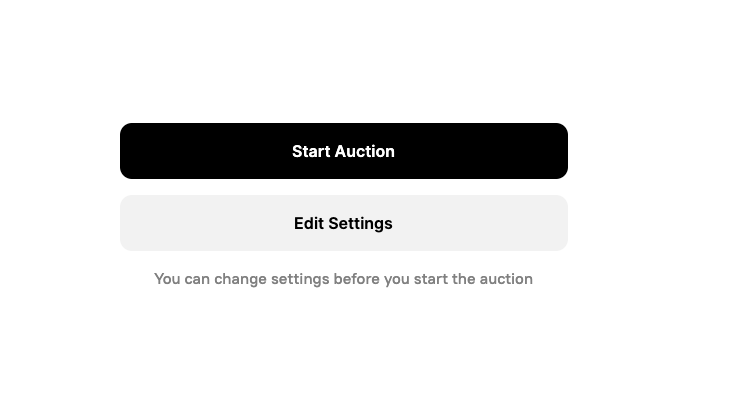
Now that we have deployed all the contracts and updated the metadata on-chain, we can confirm and make last-minute edits to our DAO settings before we initialize it. First, click "Edit Settings"
This will take you to the setting page for the DAO. As a founder, you can edit these settings before initializing. Make sure to double-check that they are all correct.
Starting the DAO#
Finally, once you have confirmed all the settings are correct, you are ready to start your DAO. You can do this by going to your dashboard and clicking on "Start Auction". This step will start the first auction and also hands over admin controls to DAO governance. Note, once you start your DAO the settings can't be changed by a founder and must pass a governance vote.
The next auction will start when the winner of the first auction goes to claim their NFT. Meaning the auctions will keep running perpetually.